Welcome to my first blog post! My name is Diogo and I created this blog to serve as a portfolio for some side projects and activities that I will be working on over time. With that in mind, I decided to kick things off by sharing a little bit about a recent purchase of mine: the Flipper Zero. In this post, I’ll share some of its capabilities and provide a basic demonstration of how to record a gate key signal using this device.
That being said the Flipper Zero is a versatile and powerful device that can be used for a variety of tasks, including pentesting, hardware hacking, and more. It’s small and portable, making it easy to take with you everywhere.
Some of the features that make the Flipper Zero so useful include:
- A built-in LCD screen that allows you to easily view and navigate the device’s menus
- A wide range of ways to communicate with any hardware such as UART, I2C, and SPI to USB Converter
- The ability to record and replay signals, making it easy to automate repetitive tasks
- A powerful processor and plenty of memory, allowing you to run custom scripts and software on the device just like a RubberDucky USB
This demonstration is about recording a gate key signal as i mentioned before and it’s a simple task that will give you an idea of some of the things that the device is capable of although it is nothing extraordinary it shows how easily someone can get access to your home gate without you even considering that it might be a problem.
So introducing the Sub-GHz Read signals functionality of the Flipper Zero. To use this functionality, it is important to have an SD card inserted into the device. The Flipper Zero has a built-in Sub-1 GHz module based on the CC1101 chip, which allows reading, saving, and emulating different types of signals. Additionally, the device comes with an antenna that has a range of up to 50 meters, providing you with a wide range of coverage to capture signals.
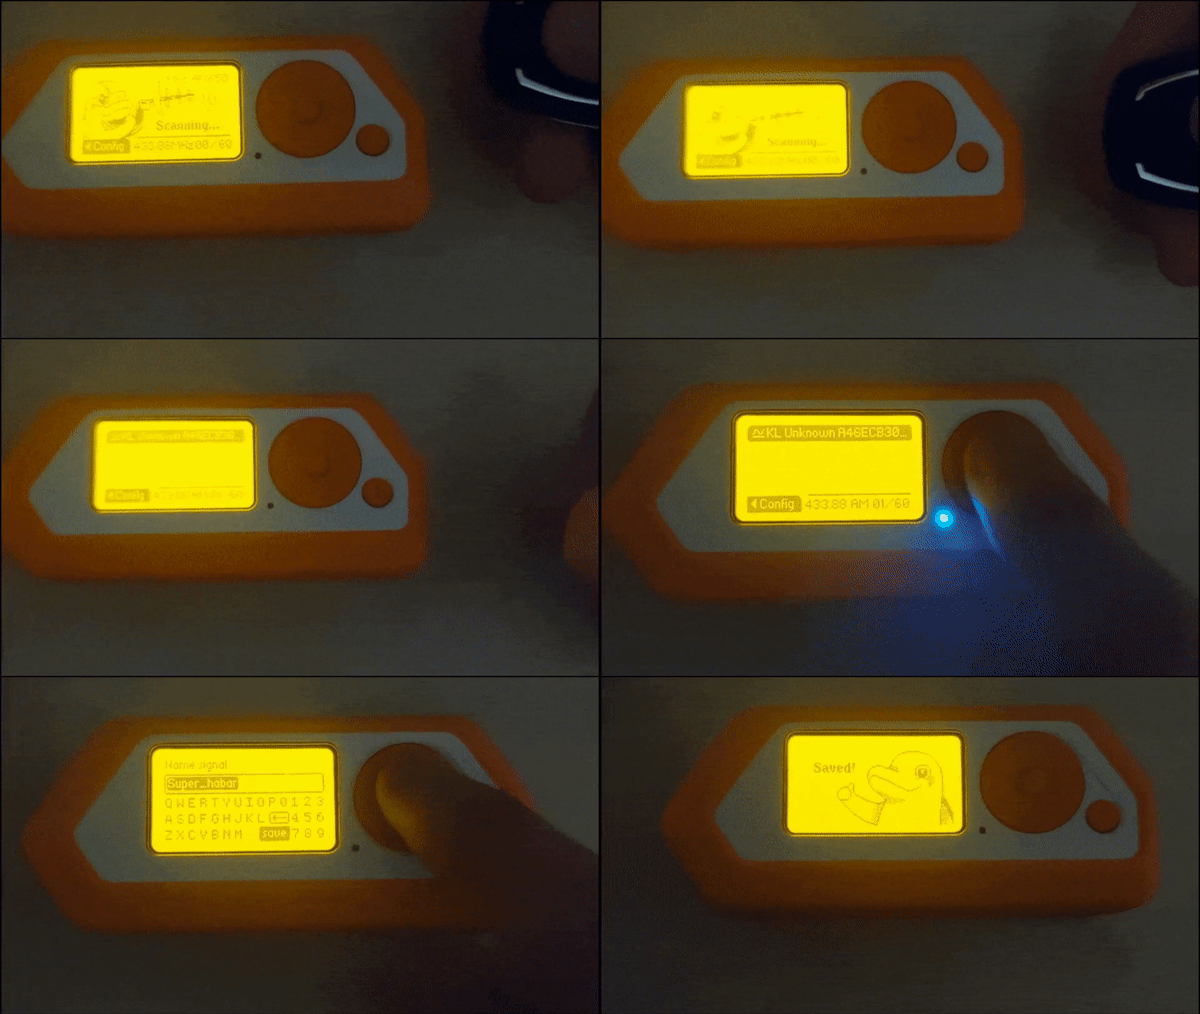
To begin capturing signals, simply navigate to the flipper main menu, select the Sub-GHz functionality, and press the “Read” button. You will know that the device is capturing signals when the LED starts blinking. While in this mode you can press the left key to configure different options such as frequency, modulation, hopping, and more options.
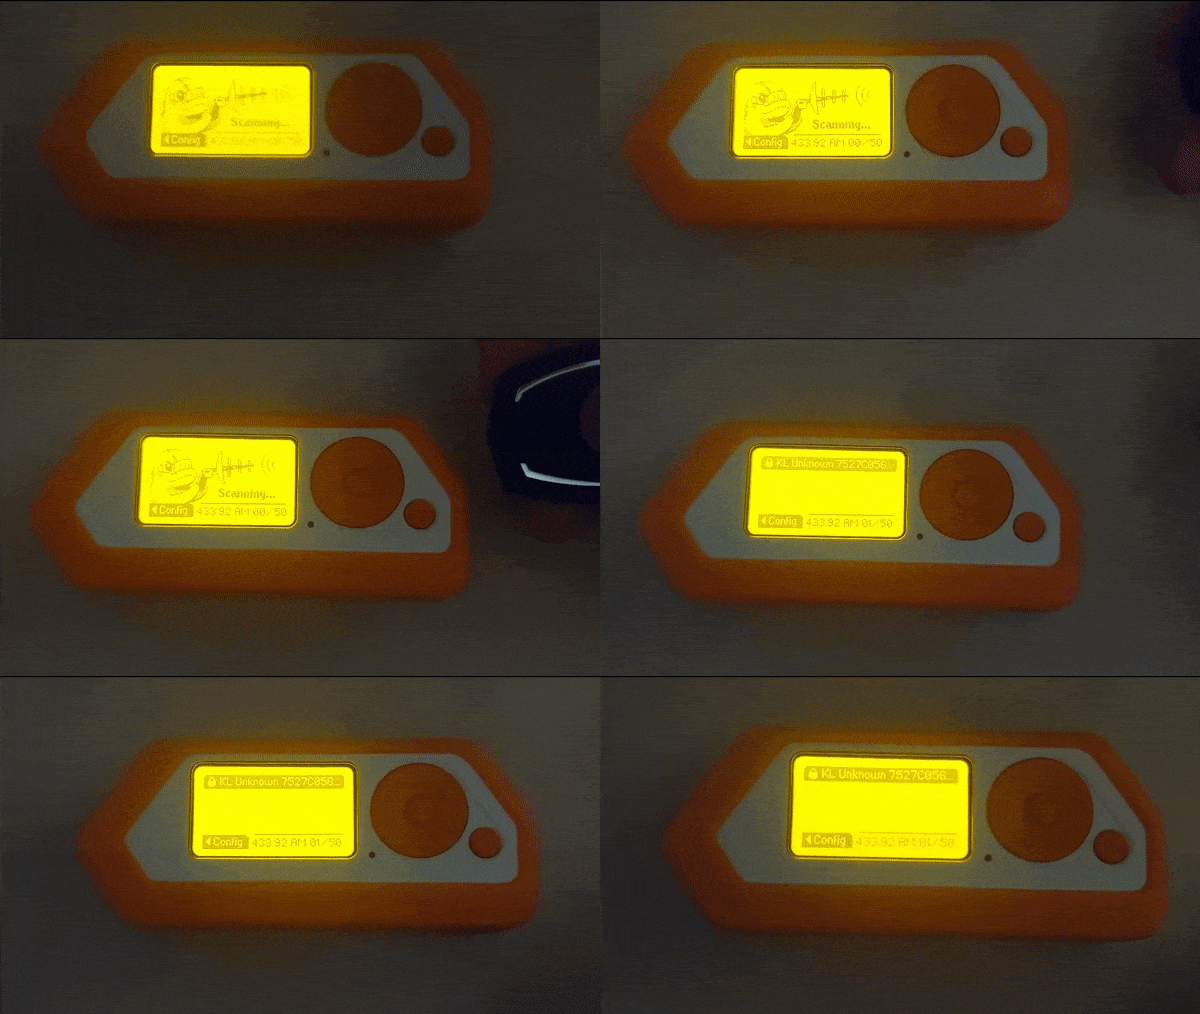
So now we are ready to capture some signals let’s test it!

We can see that flipper did indeed capture a signal but it is encrypted as you can see through the padlock on the top-left which means you cannot reproduce the signal or save it. Even though this is a true case there are some workarounds for this. The flipper community is big and because its firmware is open source some communities develop their custom firmware. One of the biggest of these communities if not the biggest is Unleashed Firmware that allows you to obtain the maximum potential of your flipper. After downloading this firmware, we can try to record the signal again and verify that we are now allowed to save it and reproduce it.

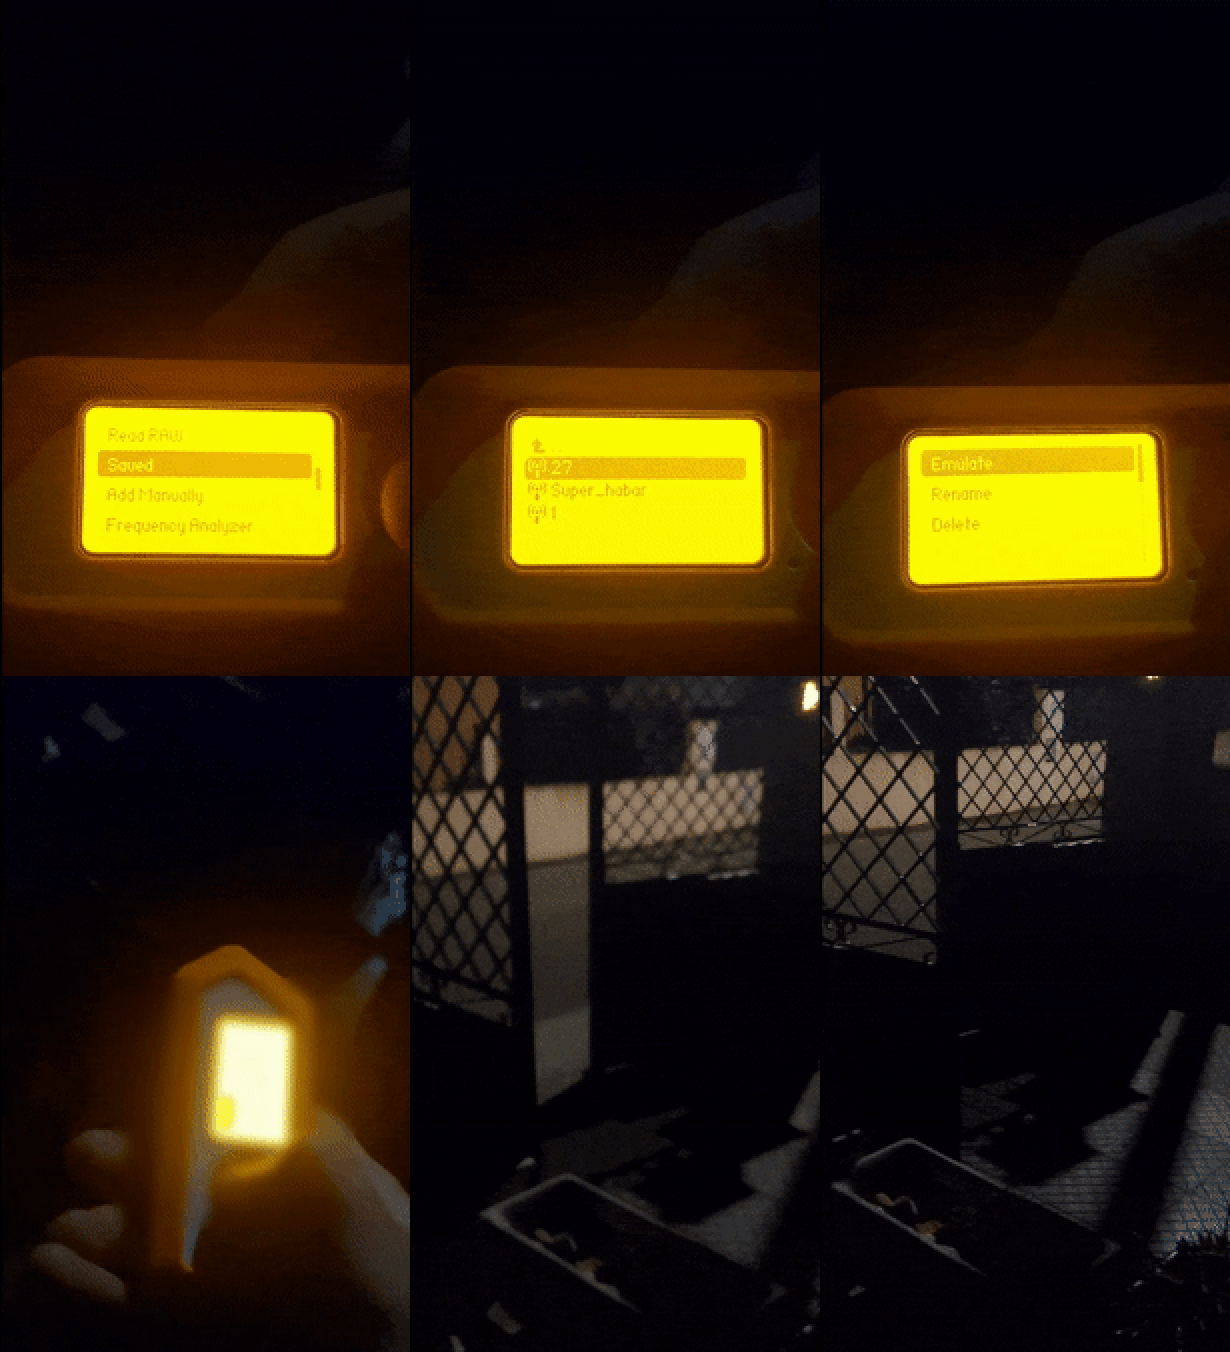
All there is left to do is test it and see if it works. As you can see from the video the gate does close!

To wrap things up it is really important that we start developing security-focused solutions for home devices so we can prevent things like this from happening.
And with that said I don’t promote the reproduction of any of these activities without the respective permission. It is your responsibility the use you make from these tools and the consequences that might come with them.
Hope you liked my first post.
Best Regards, Diogo.